Trolltunga Hike, Norway: Fjord-Side Glamping Adventure
Affiliate Disclosure: This post on the Trolltunga hike in Norway contains affiliate links. If you click a link and make a purchase, I may receive a small commission at no cost to you.
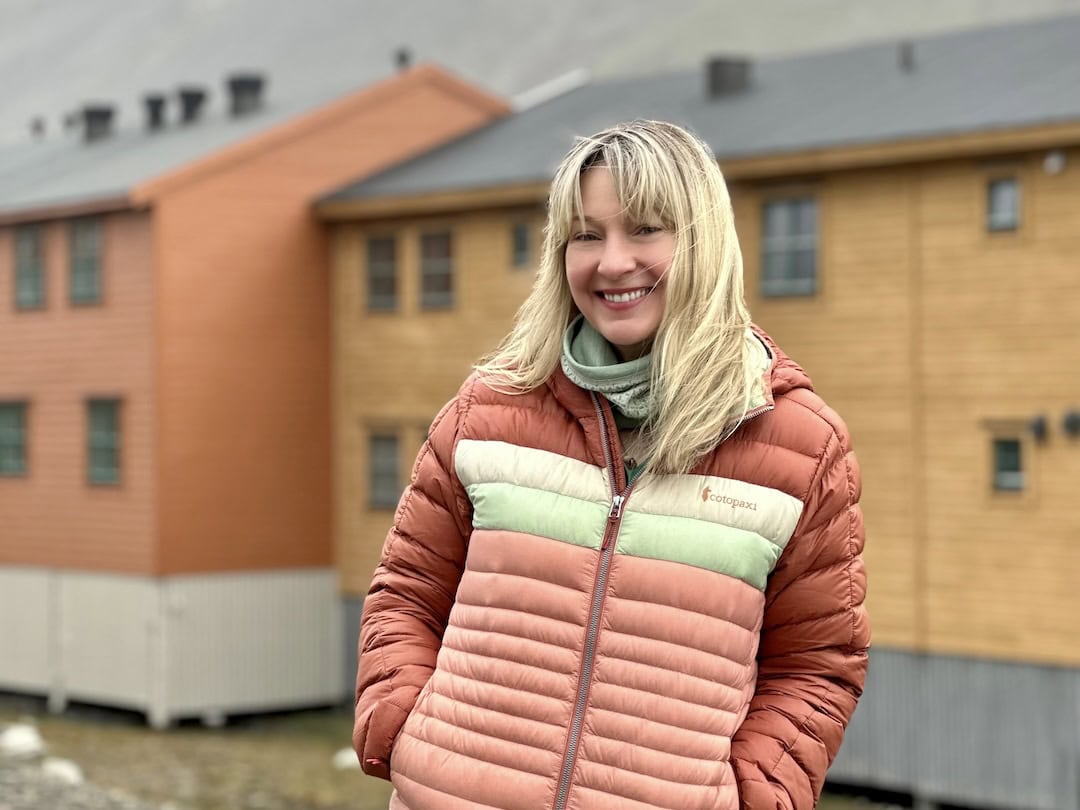
HI, I’M TARA!
I love sharing hidden gems far from the crowds, unique boutique hotels, and unforgettable wildlife adventures – helping you have extraordinary travel experiences.
INTRODUCTION
As a family, we’ve spent a lot of time in Norway. It started as a way for my husband to reconnect with his Nordic roots, and then we simply fell in love with the beauty and culture of this northern nation.
We’ve travelled from the southern coast, all the way north to the stunning Lofoten Islands, and have even made several trips to the Svalbard Archipelago, well within the Arctic Circle.
I have so many incredible memories from these travels, but if there is one particular memory that stands out above the rest, it is the Overnight Trolltunga Hike. In fact, as I write this post, I find myself wanting to have the whole experience over again! It was truly so special.
WHY HIKE TROLLTUNGA?
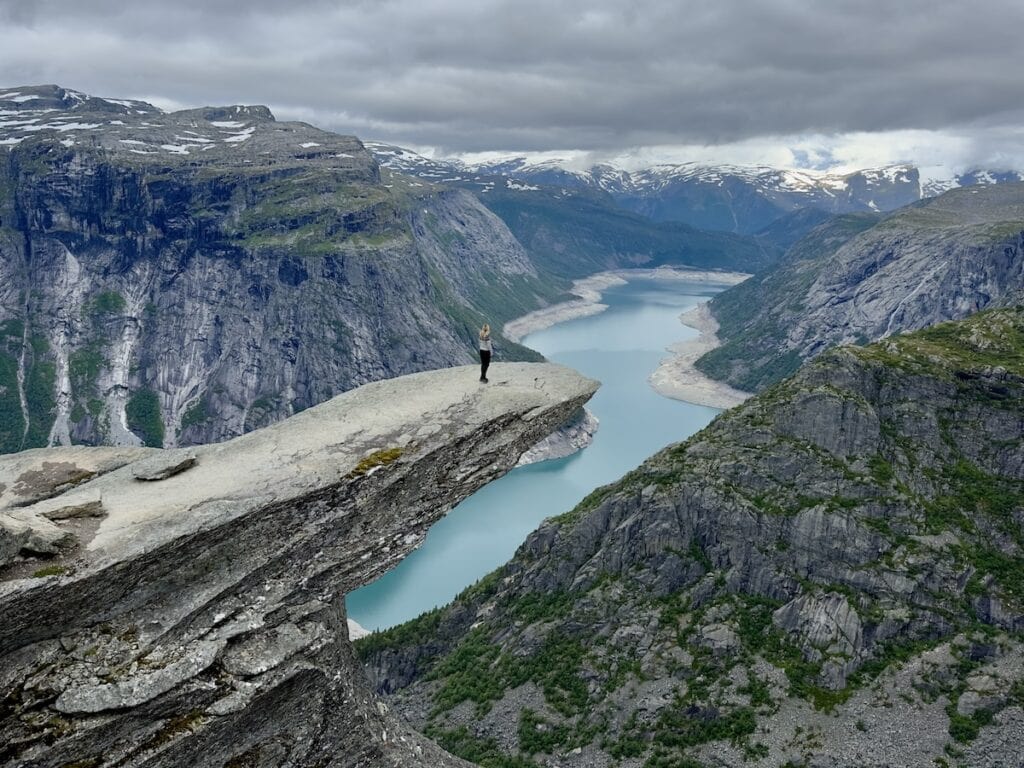
Trolltunga (The Troll’s Tongue in English) is one of the most famous hikes in the southern region of the country. (This region is referred to as Fjord Norway on local tourism websites). Other epic hikes in the area include Preikestolen and Kjerag, but Trolltunga offers something a little more remote and immersive.
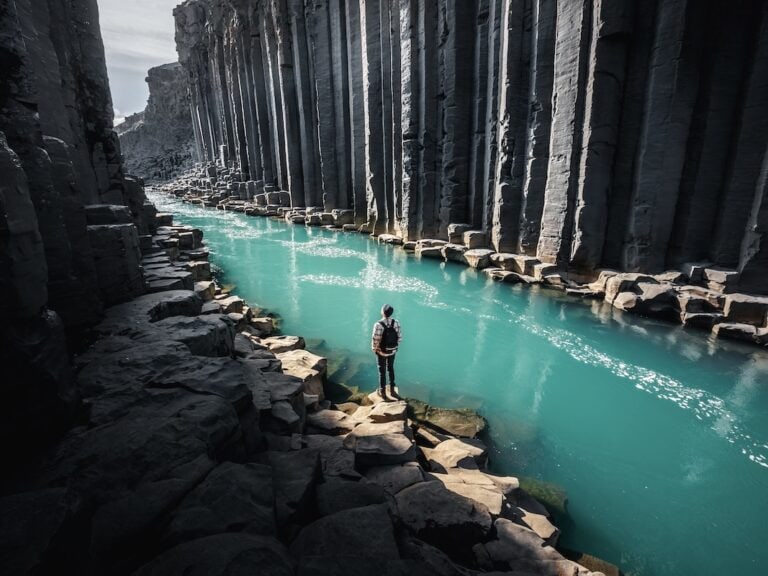
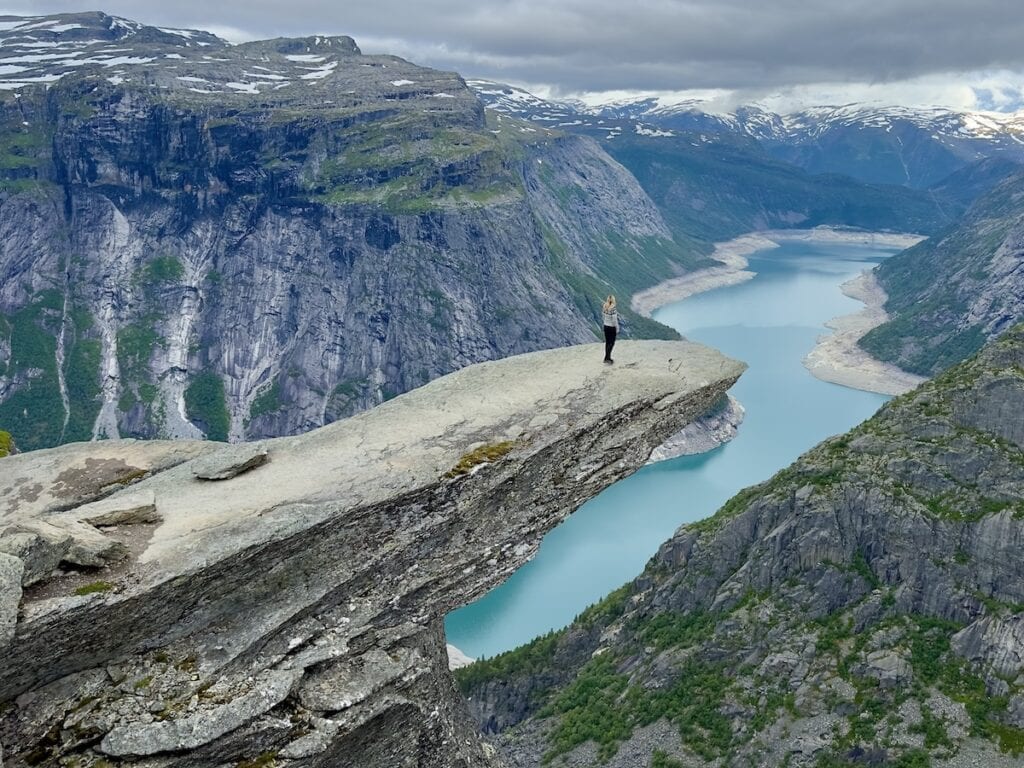
Hiking Trolltunga is a full-day adventure (or better yet, an overnight guided experience), taking you high above the fjords to one of the most dramatic viewpoints in the country. There’s nothing quite like standing out on that iconic rock ledge, with the vast landscape stretching below and mountain scenery all around.
WHERE IS TROLLTUNGA LOCATED?
Trolltunga is located in western Norway, in the Hardangerfjord region, near the town of Odda. The trailhead sits above the Sørfjorden, a branch of the much larger Hardangerfjord. Odda is about a 3-hour drive from Bergen or a 6-7 hour drive from Oslo.
While the Trolltunga hiking trail is a bit out of the way compared to some other highlights in the region, its remote setting is a big part of what makes the experience feel so special.
NOTE: If you are without a rental car, it is possible to do a Bergen-Trolltunga day trip, or a Bergen-Trolltunga overnight trip.
WHY DO THE OVERNIGHT CAMPING ADVENTURE?
The reason we chose to do an overnight guided Trolltunga hike is simple: to avoid the crowds. This is an incredibly popular Norway hike, and during the day, people often have to line up to step out onto the Troll’s Tongue for a photo, then feel rushed to get it done quickly.
(For me, lining up to see a natural attraction just ruins the whole experience and I will do almost anything to avoid it.)
For example, in July and August, typical wait times can be:
- 30–45 minutes on weekdays
- 60–90 minutes on weekends
With an overnight Trolltunga hike, you set out on the trail just before noon and arrive after most of the day hikers have left. This allows you to experience Trolltunga with only your small group and take your time getting that perfect photo.
Another big plus is the experience itself. Glamping in a setting like this is pretty amazing. You don’t have to worry about gear, meals, or any other logistics.
For our family, it was definitely one of our biggest splurges on what was already a very expensive trip, but it was 100% worth every penny.
👉 Book your Trolltunga glamping overnight hike (Viator)
HOW LONG IS THE TROLLTUNGA HIKE?
If you start from the higher trailhead (Mågelitopp Parking Lot P3), which is what the overnight tours use, the round-trip Trolltunga hike is 20 km (12.5 mi) with an elevation gain of 840 m. Our total trip time from start to finish was 27 hours.
Day hikers can expect a long day on the trail, typically 7–10 hours roundtrip, 3.5-5 hours each way depending on pace and number of breaks. (We were closer to 6 hours each way with plenty of breaks, plus an additional hour to reach our campsite.)
If you want to have a general idea of the hike route, here is the link from the hiking site AllTrails.com for the P3 to Trolltunga route.
If you start instead from the the lower trailhead (Skjeggedal Parking Lot P2), the roundtrip Trolltunga hike is 27km with an elevation gain of a little over 1,100m, adding 3-4 hours of hiking roundtrip on a boring zigzag road.
Both routes are rated as very demanding due to their length (over 20 km). Most of the elevation gain happens in the first few kilometres, after which the trail levels out.

WHY WOULDN’T EVERYONE HIKE FROM P3?
The upper P3 parking lot has very limited capacity (just 30 spaces) and must be reserved well in advance. Most overnight guided tours have you meet or park at P2, then shuttle you up to the trailhead at P3.
If you’re not on a guided hike and don’t have pre-arranged transport, you can still access P3 by shuttle. There’s a bus from Odda to P1 and P2, and a separate shuttle that runs between P2 and P3.
WHEN CAN YOU HIKE TROLLTUNGA?
The official summer season for the Trolltunga hike runs from June 1 to September 30 (although the shuttle from Odda may begin operating in late May). During this time, you can hike Trolltunga either independently or with a guide.
The trail remains open outside of this window, from October 1 to May 31, but hiking Trolltunga during this period should only be done as a guided adventure due to snow, ice, and more challenging conditions. (There was still a bit of snow on the trail in July!)
If you’re visiting in winter, you can join a guided Trolltunga hike here.
TROLLTUNGA WEATHER IN SUMMER?
It’s not warm. Or at least, it’s rarely warm.
Even in peak summer (July and August), daytime temperatures on the Trolltunga hike typically range from about 5–15°C (41–59°F), and it can feel significantly colder with wind and exposure at higher elevations.
We did this hike on July 4th and experienced a bit of everything: light rain, some wind, high overcast, and occasional sun (thankfully). Temperatures on our trip ranged from 2–12°C (36–54°F). (Despite being in a warm sleeping bag, I still slept with two pairs of wool socks on.)
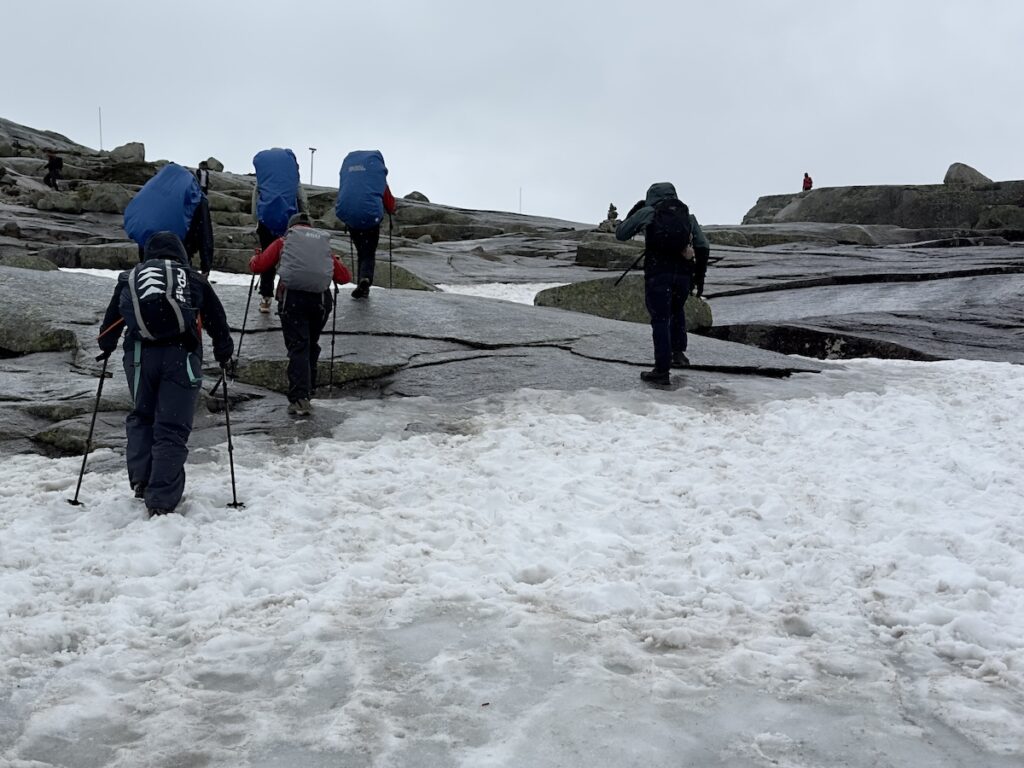
It’s also worth noting that this region gets a lot of precipitation, so the trail can be wet. Expect slippery rocks, muddy sections along the way, and even slushy snow. Waterproof hiking boots are essential.
FUN FACT: Nearby Bergen (about 150 km away) is one of the rainiest cities in Europe, which gives you a pretty good idea of what to expect in this part of Norway.
OUR TROLLTUNGA HIKE EXPERIENCE
THE ARRIVAL
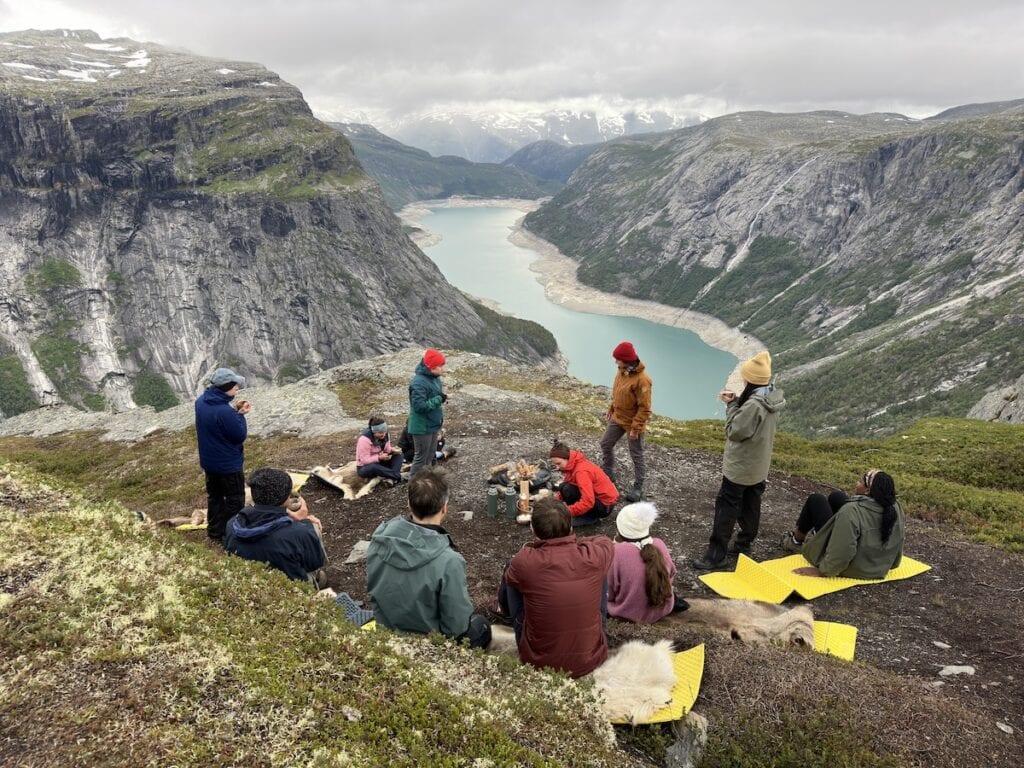
After parking in our reserved parking spot in P2, we met our group nearby at 11:15 am. Our group consisted of 12 hikers and three guides.
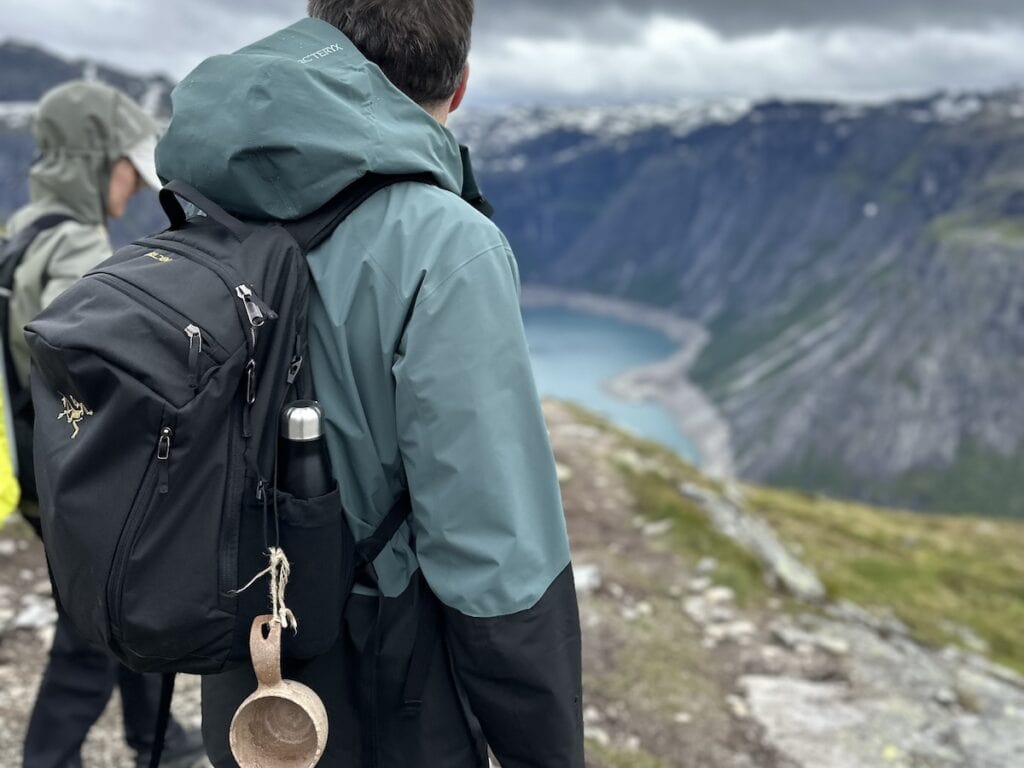
Our guides quickly checked everyone’s gear to make sure we all had what we needed. We had pre-booked a few rental items, including backpacks, backpack rain covers, rain pants, and hiking poles. Since we were travelling in Norway for two weeks and only needed these for this portion of the trip, renting them was simply more convenient.
Once we were set, we hopped on a shuttle to the upper trailhead at P3, cutting out several steep kilometres and reducing the hike from 27 km round trip to 20 km.
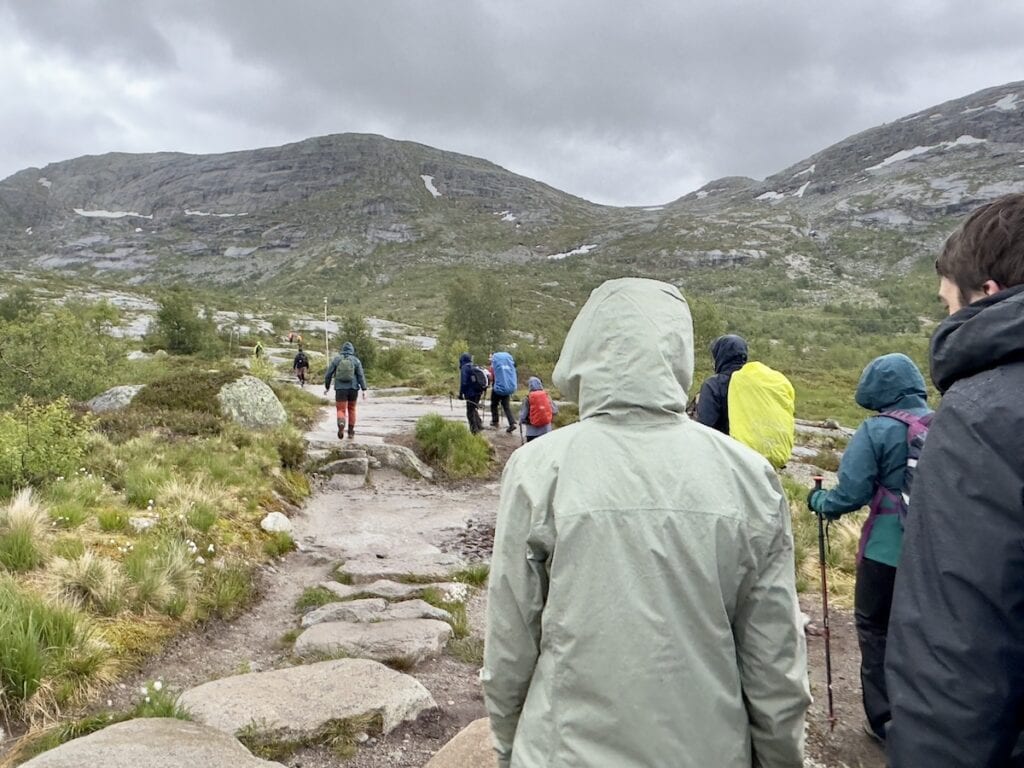
THE HIKE
We started on the upper trail at 12 pm. I’ll admit I was a little nervous about my fitness for this hike. (We had also just hiked Preikestolen the day before and my legs were a bit rubbery.)
I’m in decent enough shape, but I’m not a life-long or even regular hiker. That said, I did try to work up to this distance by getting out for a hike once a week leading up to the trip.
The trail is not graded. It’s uneven and soggy in places, and sometimes requires a bit of scrambling. This is why waterproof hiking boots with ankle support are highly recommended. Hiking poles also can be helpful (especially to protect knees on the way down).
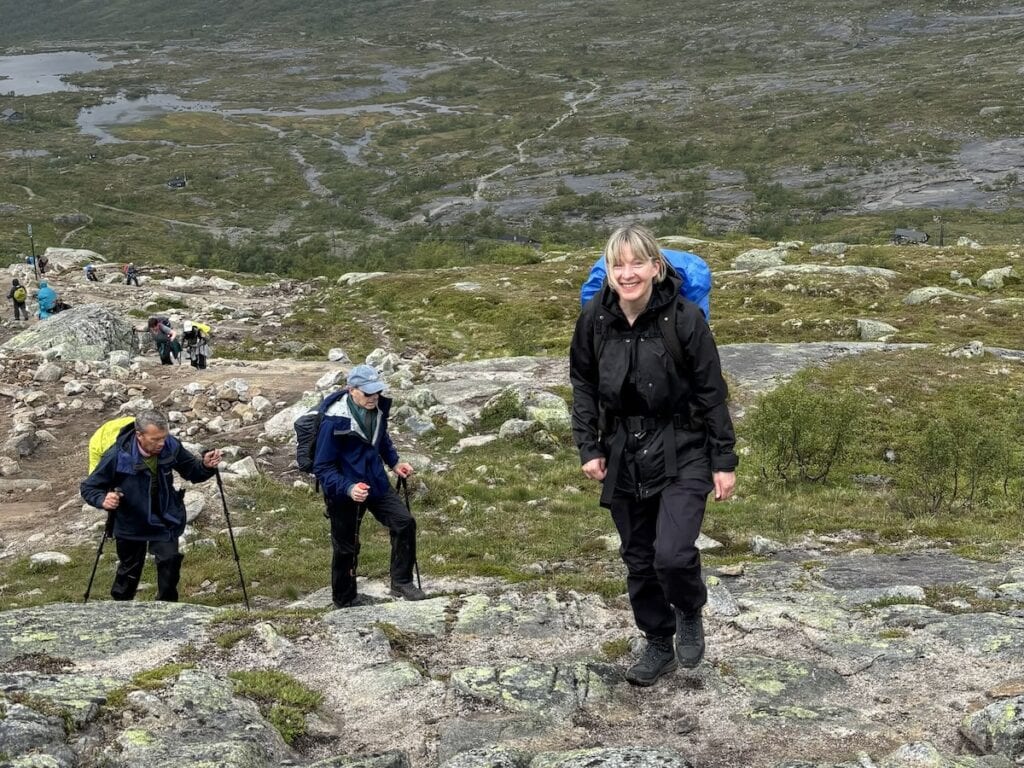
One thing I really liked about the Trolltunga hike is that you cover most of the elevation in the first couple of hours. After that, it flattens out and becomes much easier. It’s also so scenic that you almost forget you’re getting tired.
My husband and early-20s son found the pace a little slow, but that just gave them more time to enjoy the scenery. For my daughter and me, the pace felt just right. We were comfortably in the middle of the group.
NOTE: If you’re concerned about being too fast or too slow for a group, you can book a private hike Trolltunga Norway adventure with Trolltunga Adventures.
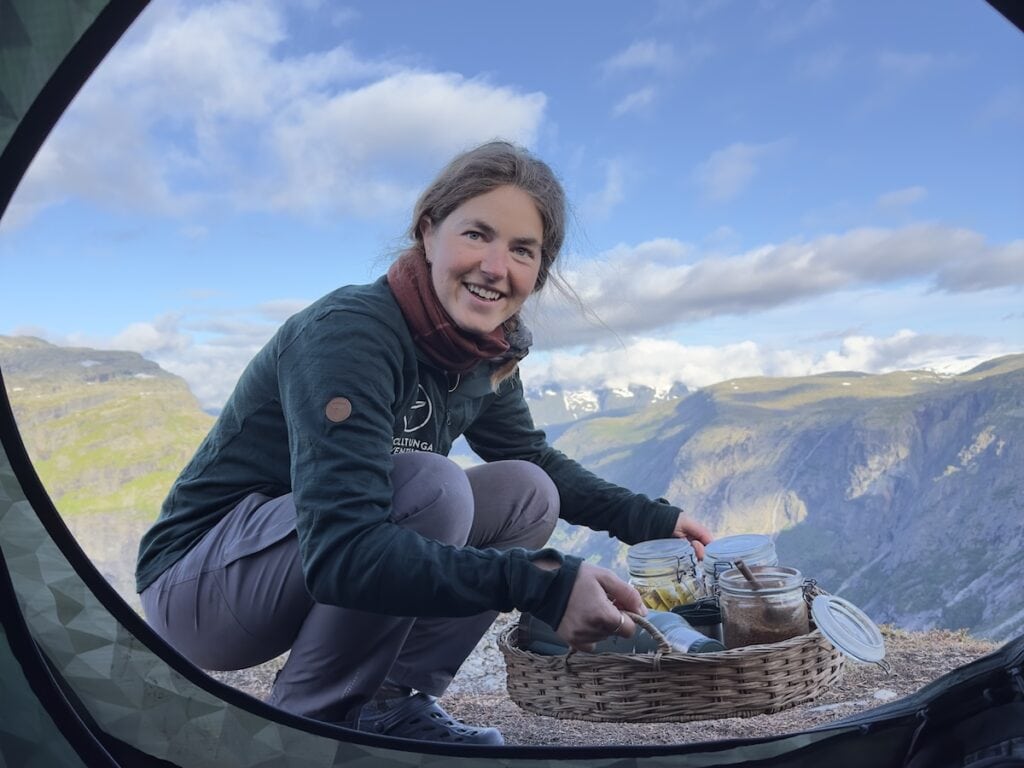
The guides were fantastic, checking in on everyone throughout the hike. We had frequent stops with delicious, locally sourced snacks, sandwiches, and plenty of cookies and chocolate. Our energy levels stayed high the entire time. Water was refilled from the crystal-clear mountain streams along the way.
Bugs were not an issue. With the cooler temperatures, mosquitoes aren’t typically a problem.
ARRIVAL AT TROLLTUNGA
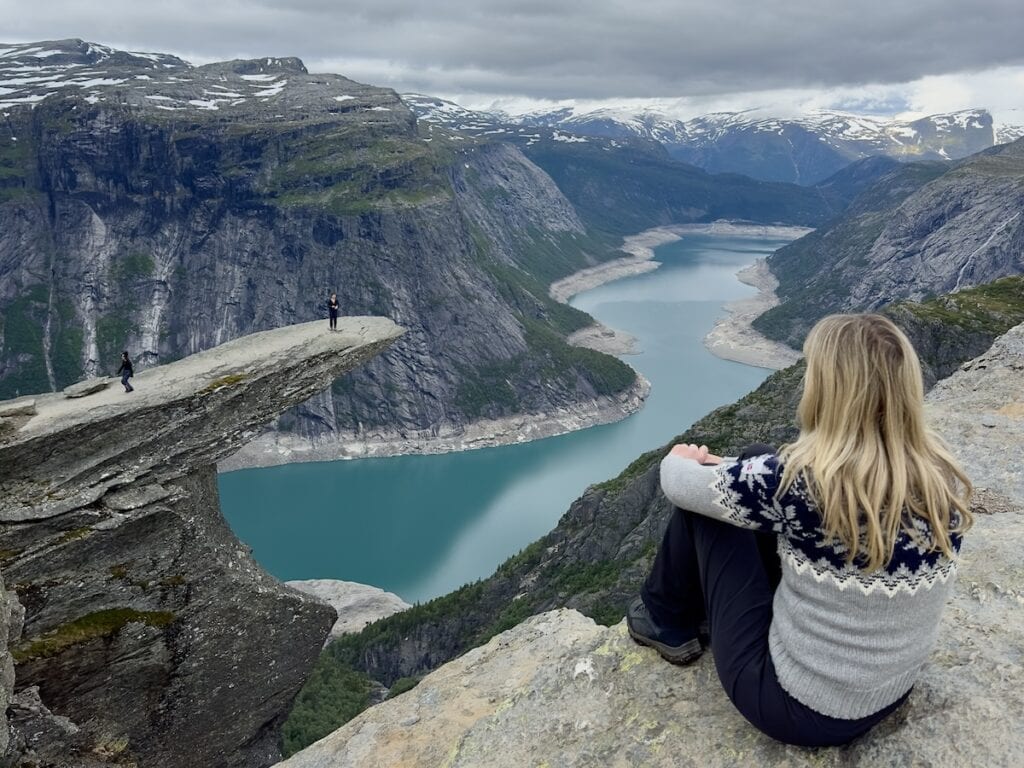
We arrived at Trolltunga at around 5 pm, about five hours after setting out. By that point, most of the day hikers had already left, and we had this incredible place almost entirely to ourselves.
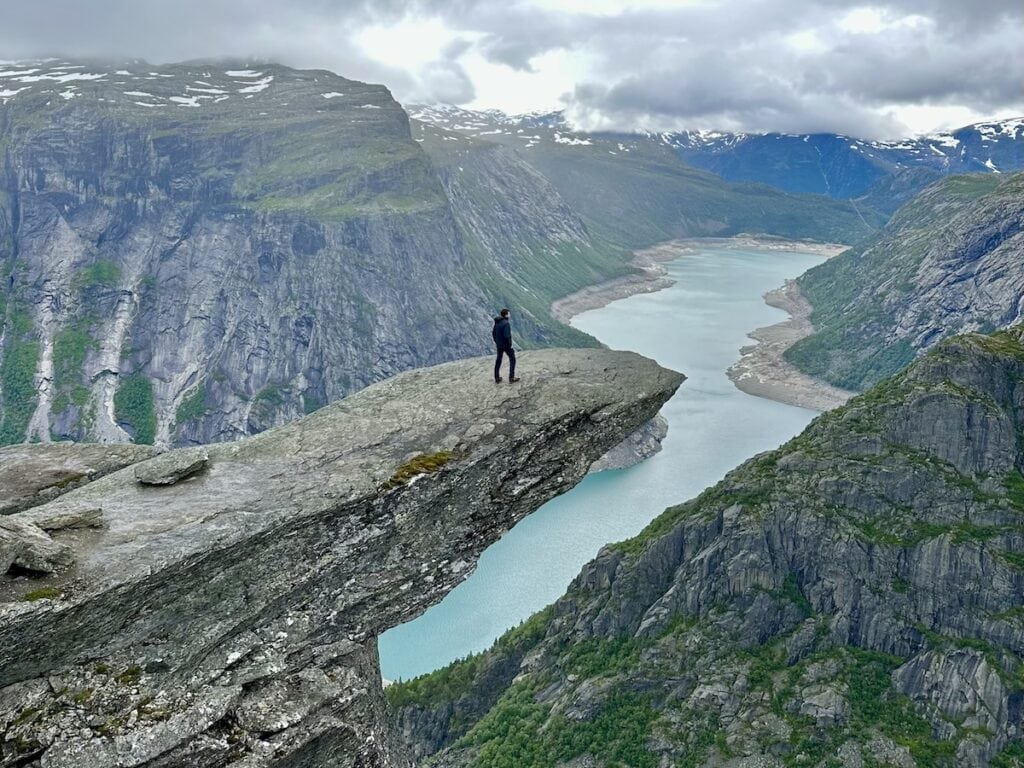
We spent about 20 minutes getting photos and just taking in the scenery. Not everyone wanted to go out onto the rock, which I’ll admit, surprised me a bit. But for some, I suppose it is about the journey! After that, we continued on for another 30 minutes to our campsite.
PHOTOGRAPHY TIP: I would suggest looking up photos of Trolltunga ahead of time so you that you have an idea of what kind of perspective you would like for your photos.
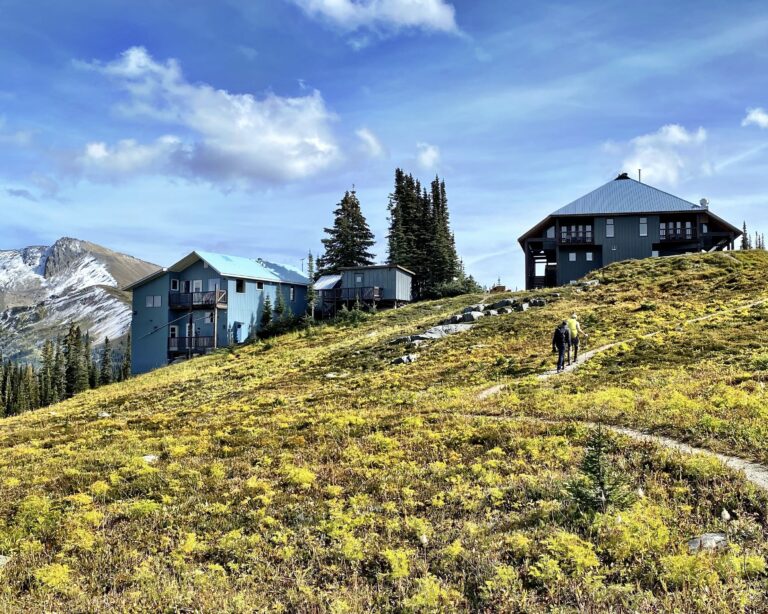
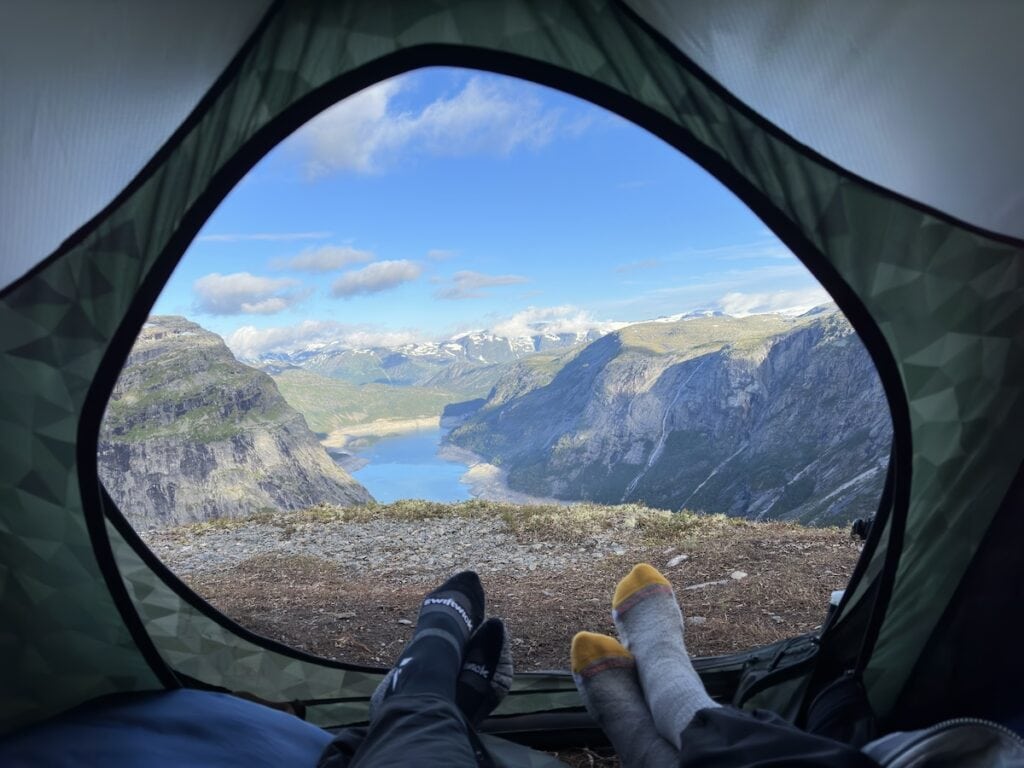
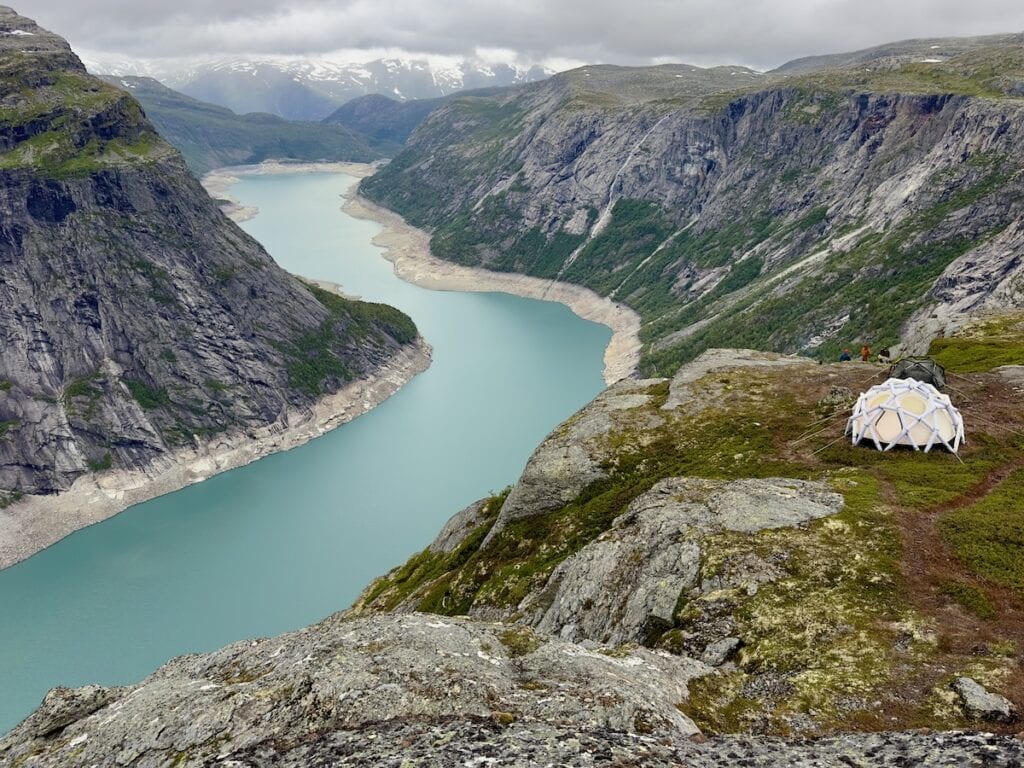
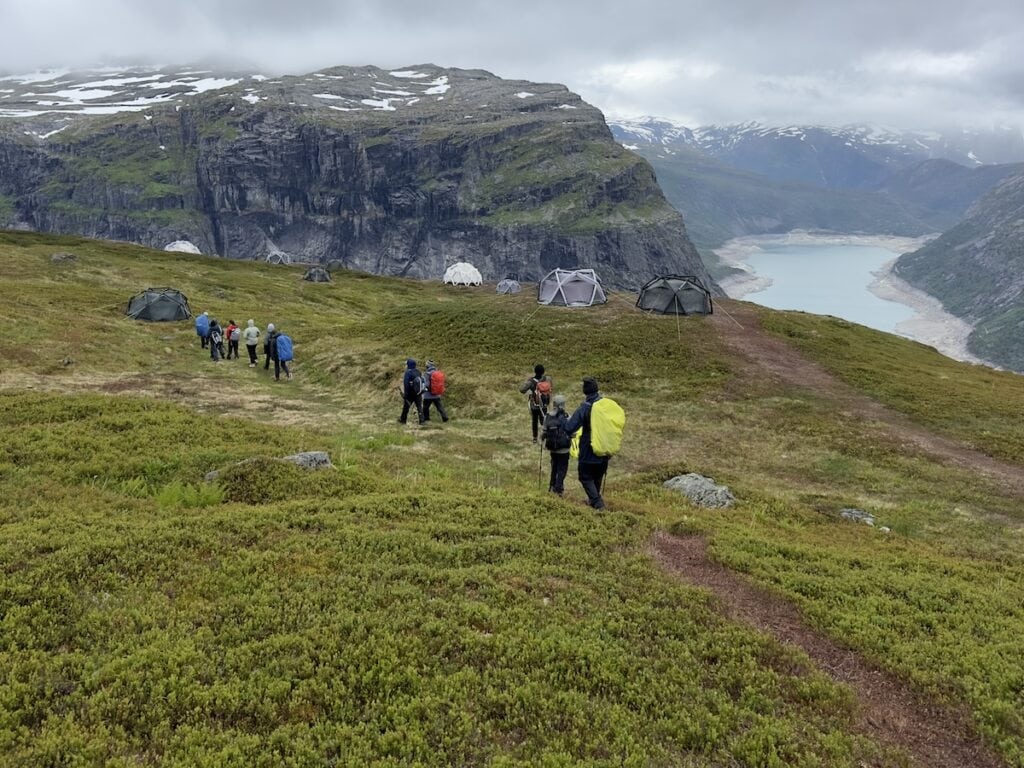
THE TROLLTUNGA CAMPSITE
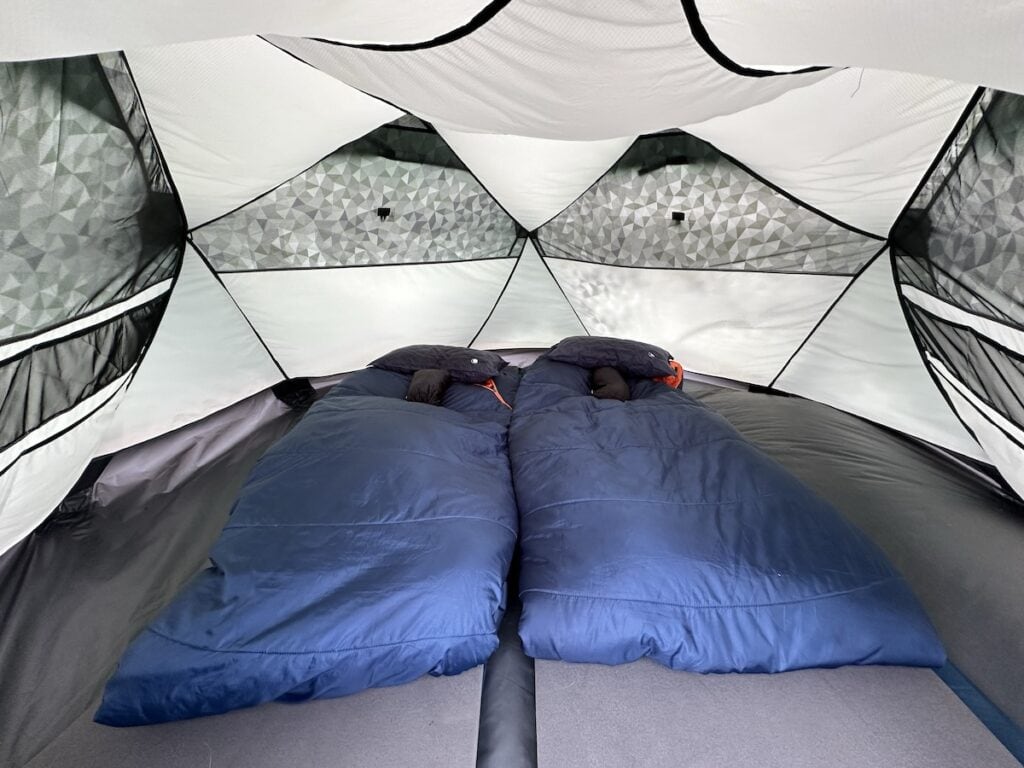
We arrived at the Trolltunga camping spot at around 6 pm. The tents were set up for two people each and came with very warm sleeping bags, liners, and pillows.
While we got settled, the staff prepared a lovely reindeer stew for dinner (with a curry lentil vegetarian option), followed by hot chocolate, tea, and s’mores around the fire. Honestly, we were all pretty tired from the day and were all in bed by about 9 pm.
We were up early with the birds. (Earplugs and a sleep mask are a good idea if you want more sleep.) Shortly after, our guides delivered coffee, tea, and hot oatmeal right to our tents.
IMPORTANT NOTE: For those wondering, there was a separate tent, away from the sleeping tents, with a composting toilet.
THE HIKE BACK
We were back on the trail by about 7:45 am and had the chance to stop at Trolltunga for a second time. Once again, it was crowd-free, and it was also nice to experience it in a different light. (The light had been quite flat the evening before.)
The return hike felt a bit easier overall, as the descent was less demanding and the ground was dry, with no slippery rocks. The most challenging part was the steep section in the final hour, especially with rubber legs. (Hiking poles are very helpful here.) Our return trip from the camp to our parked car took 6 hours.
HOW TO BOOK THIS TRIP
This is a very popular trip, especially during July and August. In fact, it was one of the first things we booked when planning our summer Norway trip to make sure we got our preferred dates. We then planned the rest of our trip around it.
The trip includes:
- • Unlimited time at Trolltunga
- • Private tent with a warm sleeping bag and sleeping mat in our secluded camp
- • Lunch on day 1, Dinner, Breakfast, hot drinks and some local surprises
- • Reserved transport from P2 Skjeggedal to P3 Mågelitopp, and back down the next day (normal price 200 NOK)
- • Detours to hidden gems along the way to Trolltunga
- • Pictures: your guides will assist you in taking pictures throughout the hike
- • Evening swim (weather permitting)
- • Experienced guides carrying safety and first-aid equipment
👉 Book your Trolltunga overnight hike (Viator)
👉 Or compare options on GetYourGuide
OTHER GUIDED HIKE OPTIONS
There is another company that also offers guided hikes and overnight camping at Trolltunga. Their overnight trip differs slightly in that it includes a Via Ferrata “Sky Ladder” experience and is a little less luxe (you pack your own lunches). I also couldn’t help but notice that their group skewed a bit younger (20–40), whereas our group was mostly in the 30–60 range.
See these alternative guided hike options:
👉 Trolltunga Ovenight Hike with Via Ferrata (26 hrs)
👉 Trolltunga Day Hike with Via Ferrata (10 hrs)
👉 Trolltunga Day Hike (10 hrs)
CAN YOU HIKE TROLLTUNGA FROM BERGEN?
Yes, it is possible, but it makes for a very long day. The Trolltunga hike itself can take 7–12 hours, and the Bergen to Trolltunga drive is at least three hours each way.
👉 Book Your Trolltunga Hike from Bergen (16 hrs)
WHERE TO STAY
Trolltunga is located in Skjeggedal, near the town of Odda. For the least amount of stress, I recommend staying in Odda the night before your hike. Most people on our hike also chose to spend the night in Odda afterward. It makes sense, as you can feel pretty tired, but we decided to carry on to Bergen (about a 3-hour drive) instead.
To be completely honest, there aren’t any standout Trolltunga hotels. The best ones are just fine, and this site has never been about recommending things that are just fine. That said, these are the best of a fairly average bunch. Even these options book up quickly in the summer, and I’d much rather see you in an 8.5/10 than a 6/10 for the same price.
BEST HOTELS IN ODDA
1. HARDANGER HOTEL
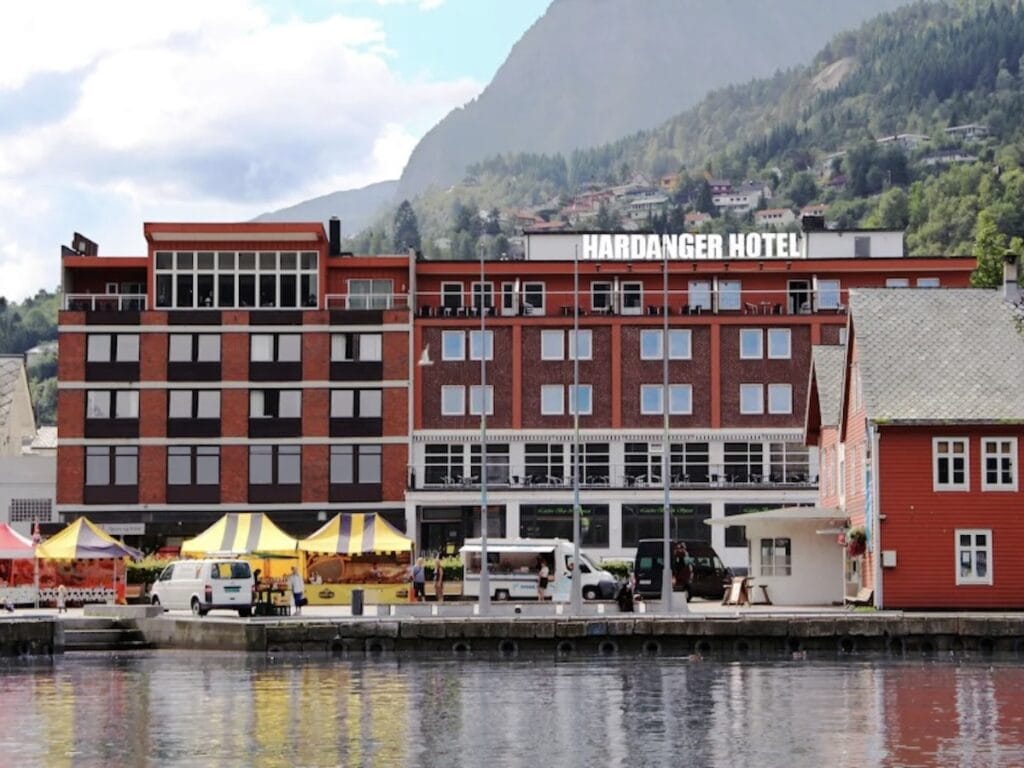
Hardanger Hotel is located right in the centre of Odda, within walking distance of restaurants, shops, and the waterfront. It’s a straightforward, no-frills option with clean rooms, some of which have fjord views.
Check rates for the Hardanger Hotel on Expedia.
2. TROLLTUNGA HOTEL
Located just above town, Trolltunga Hotel offers views over the fjord and surrounding mountains. It’s one of the more commonly used options for those hiking Trolltunga and is set up with early breakfast options for hikers. Rooms are simple but comfortable.
Check rates for the Trolltunga Hotel on Booking.com or Expedia.
3. ODDA CITY APARTMENTS
Odda City Apartments offer simple, self-catering accommodations right in town. They are modern and get strong reviews for cleanliness and space, making them a good option for families or those wanting a bit more room.
Check rates for Odda City Apartments on Booking.com.
OTHER ODDA ACCOMMODATIONS
Vacation rentals are another option in Odda, and in many cases, there are more highly rated apartments and houses than hotels.
That said, for a one-night stay, the added service and cleaning fees can make them just as expensive as a hotel. Still, if you can find a much nicer place for a similar price, it may be worth it.
👉 See Odda Vacation Rentals Here (VRBO)
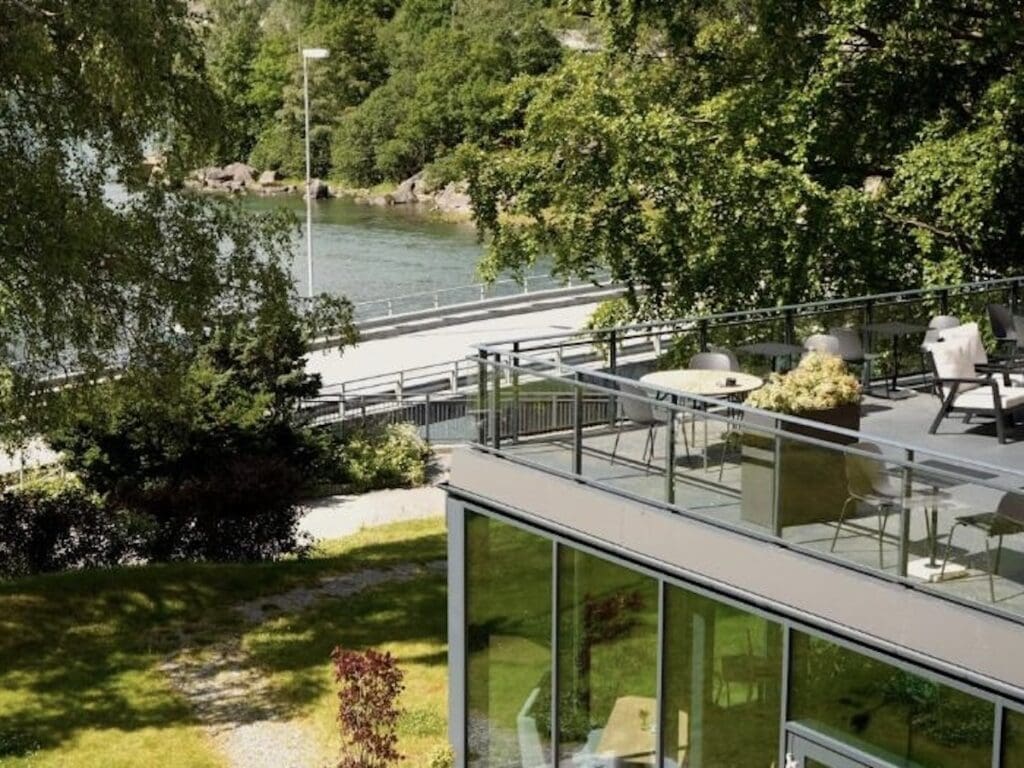
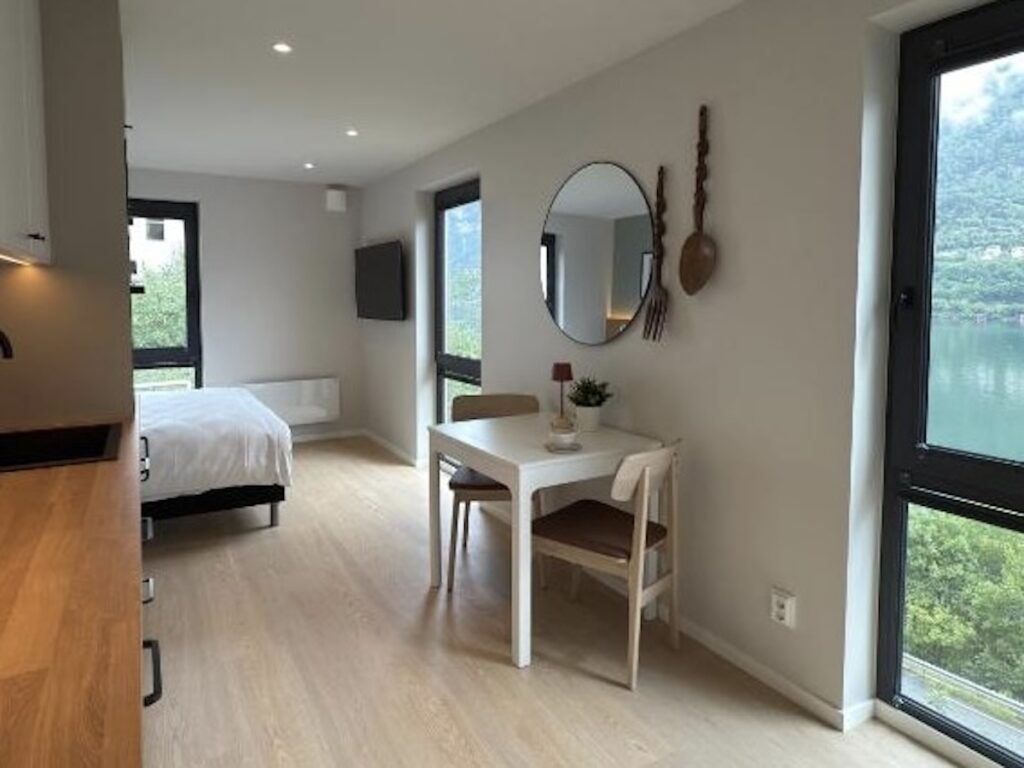
Note: We couldn’t find anything that worked for us in Odda, so we stayed about 45 minutes away at Mikrohyttene i Åkrafjorden. It wasn’t luxurious, but it was a fun experience in a beautiful setting. We picked up the keys (and dinner) at a local grocery store and enjoyed a simple meal on our balcony.
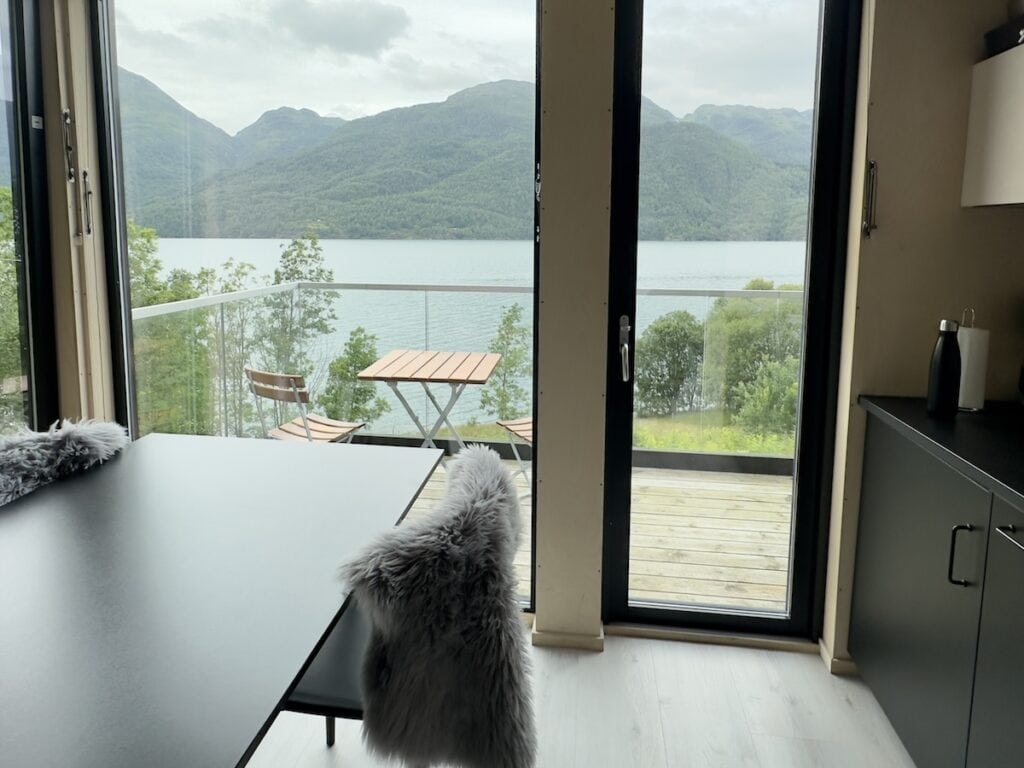
NOTE: I’d recommend it more highly if it didn’t make the following morning slightly more stressful with a 1 hour drive to meet up with our hiking group the next day.
WORTH MENTIONING
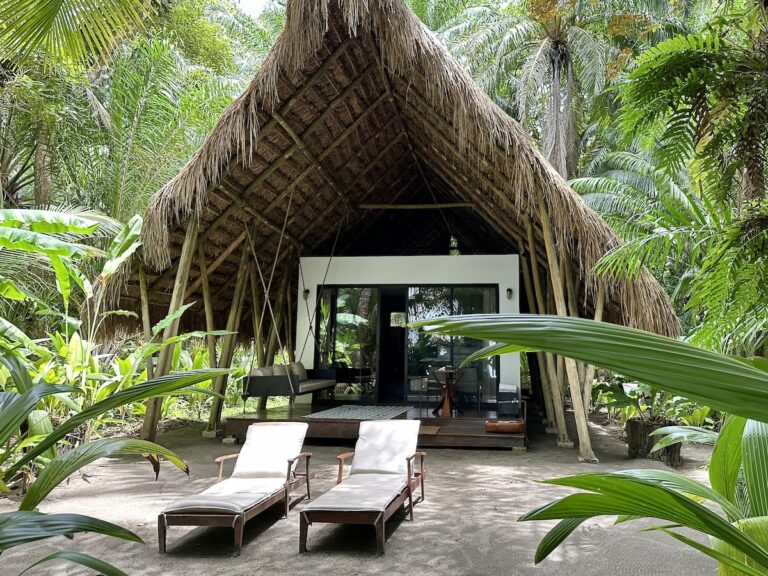
There is one place in the area I’ve been slightly obsessed with for years. Because of the nature of staying in a treehouse, it likely won’t make sense for a quick pre- or post-hike night, but it’s worth knowing about if you’re planning to spend more time in the region.
Woodnest Treehouses, just outside Odda, offer a truly unique stay with modern, design-forward cabins perched high in the forest and overlooking the fjord. They’re one of the few standout accommodations in the area, and with only a handful of units, they book up very quickly.
Learn more about the Woodnest Treehouse Hotel, Norway

TROLLTUNGA HIKE PACKING LIST
I think the most important thing to realize is that despite the fact that this is a summer hike, you need to be prepared for all kinds of conditions. In July our lows were close to freezing. We also had rain, strong winds and, thankfully, also some sunshine. The ground can also be mushy, or even slushy, in some areas, so waterproof hiking boots are essential.
BASIC TROLLTUNGA PACKING LIST
- Waterproof & windproof jacket
- Waterproof & windproof hiking pants
- Light down layering jacket
- Rain pants (can be rented)
- 2 sets of base layer tops and bottoms (wool best)
- Mid layer wool sweater or fleece
- Waterproof hiking pants
- 2 pairs of wool hiking socks
- Waterproof gloves or mittens
- Warm beanie
- Min. 30L backpack (can be rented)
- Water bottle
- Sunglasses
- Sunscreen
- 2 plastic bags*
*These can be very useful for many things but especially if your hiking boots happen to get wet. You just slips the bags over your dry socks before putting you feet back in your boots. (This may have happened to someone in our family who insisted that they didn’t need waterproof hiking shoes for summer in Norway.)
RECOMMENDED EXTRAS
- Hiking poles (can be rented)
- Backpack rain cover (can be rented)
- Sleeping mask (long hours of daylight)
- Ear plugs (early morning birds)
- Neck buff (wind and sun)
- Back up phone/camera battery charger
- Swim shorts
- Towel
- Head lamp (bathroom visits)
- Bandaids or blister patches
- Pain reliever for sore muscles
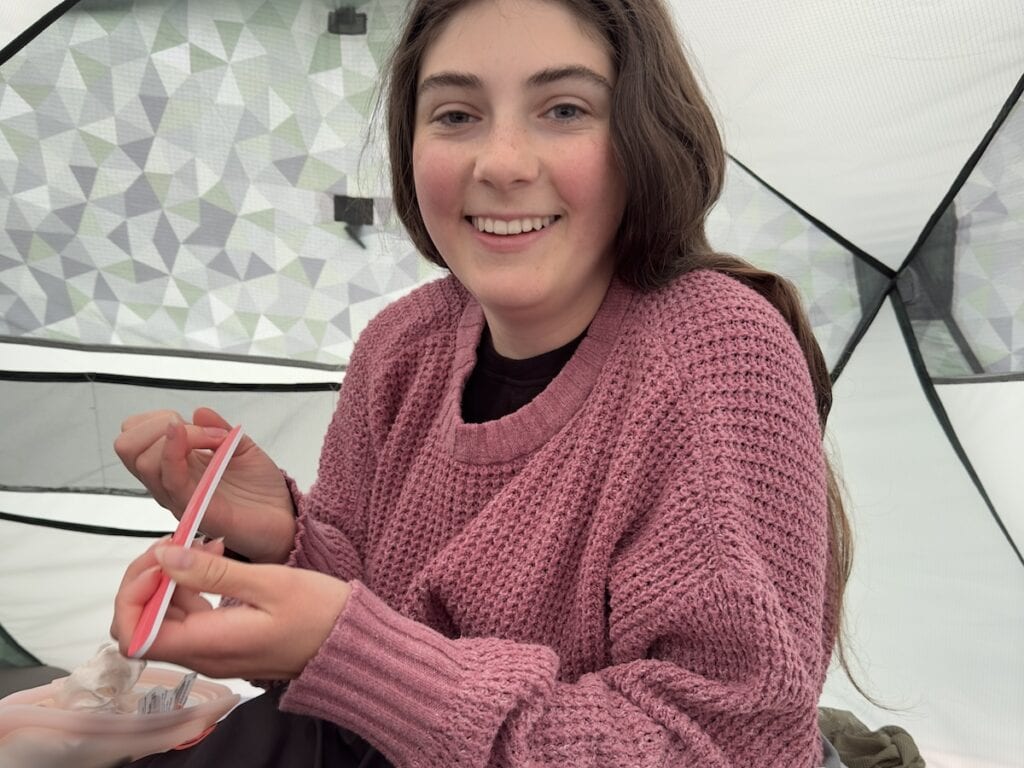
I’m sharing this photo because I couldn’t believe that my daughter had a “nail buffer” in her bag 😂. She said that she didn’t realize that it was in her pack, but I’m not 100% convinced!
FINAL THOUGHTS
As mentioned earlier, we’ve had many incredible experiences travelling around Norway, but this is the one I find myself coming back to when I daydream about travel. It may feel a bit out of the way on a typical itinerary, but if you’re an avid hiker, I truly think it’s a must-do.
A special thank you to our wonderful guides from around the world, Magda (Poland), Sophie (Denmark), and Jéromine (Switzerland). You made this experience extra special for our family.
I love hearing from you! Should you have further questions about a the overnight Trolltunga hike, please feel free to reach out to me via direct message on Instagram, Facebook or by email.
Want to see more unique adventures? I would love for you to follow along with The Better Beyond on Instagram!